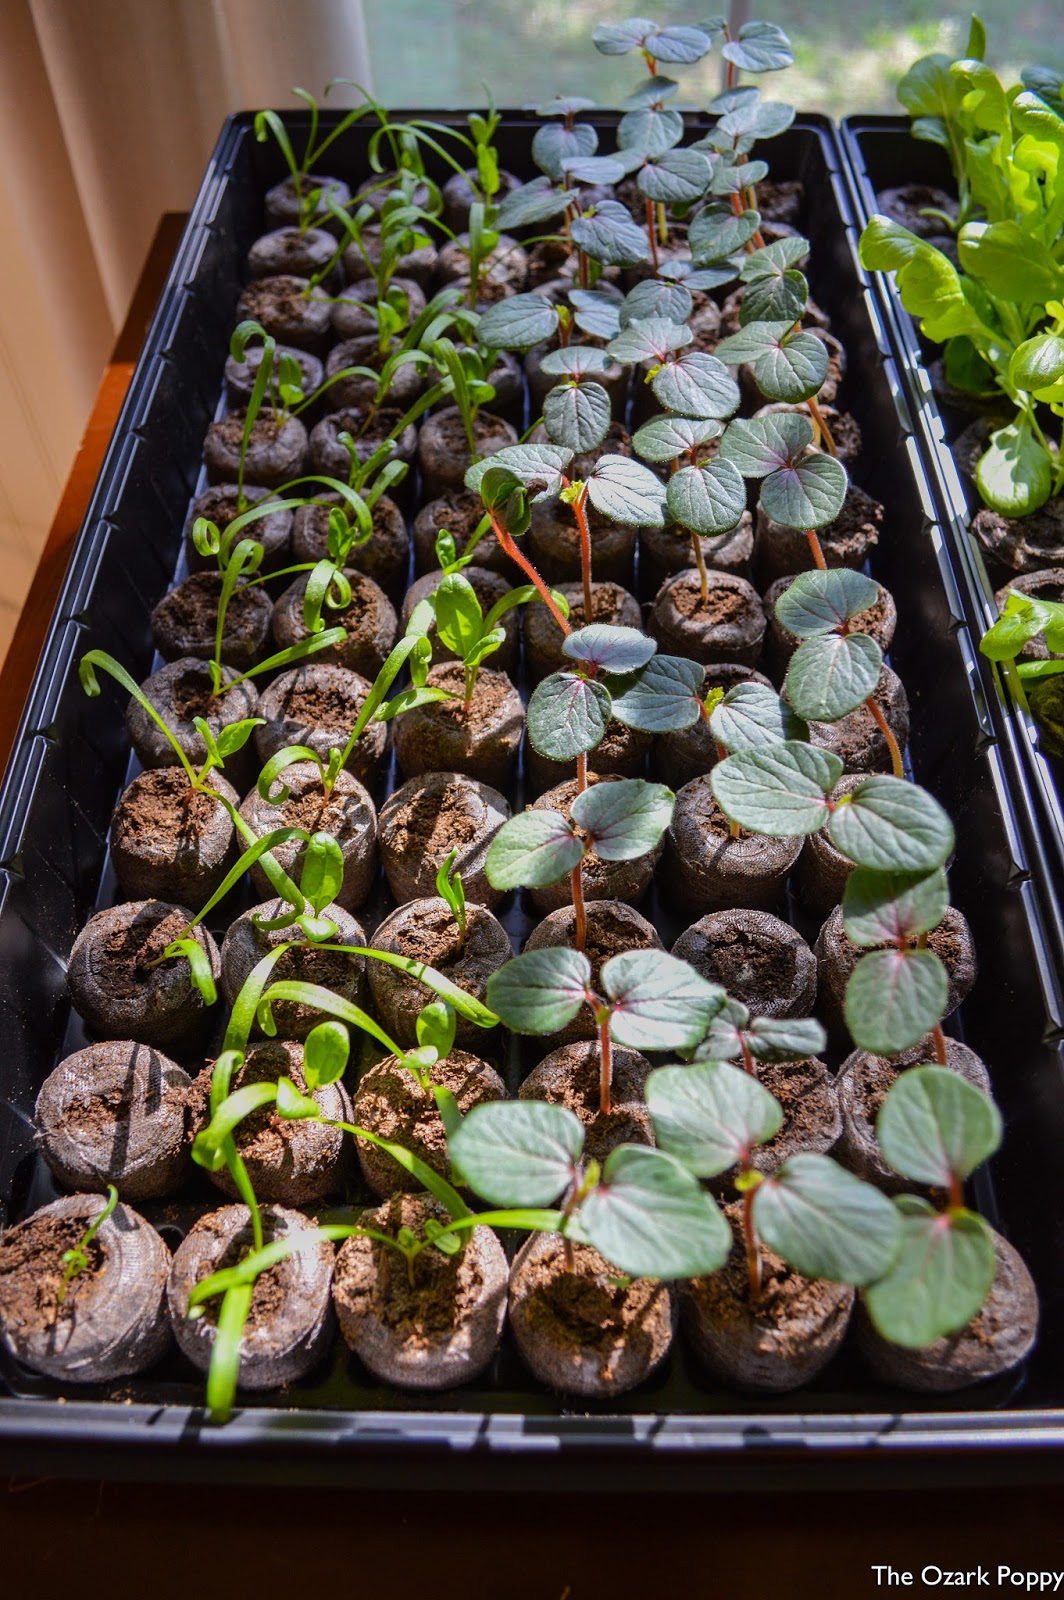
photo LFD-header_zpsrtqgwepm.png
 photo home_zpsiyorvpud.png  photo thefarm_zpslijkqdnu.png  photo gardening_zpsd2mpsctr.png  photo DIY_zpsxujfurgu.png  photo recipes_zps6vv3oxcy.png

Thursday, May 26, 2016

This Week In The Garden

I feel so bad that I haven't been updating my blog as much as I'd like to - with our chickens & garden rapidly growing, it's been hard to keep up! Things are finally starting to slow down a little, so you'll find me posting on here a lot more often :) This is what our raised bed filled with lettuce, cabbage, onions, turnips and carrots looks like as of today. It's so funny because I went outside this morning determined to get some nice shots with my camera, but the lens instantly fogged up because of how humid it is! So y'all will just have to enjoy some good quality iPhone pics! ;) Can you believe it was just a couple months ago that we started the seeds indoors? And today is the day we will need to harvest all of this green goodness! When we first had transplanted the lettuce and cabbage outdoors, I was so worried that they wouldn't survive. They looked so wilted and sad. But I'm happy to say that most, if not all, have completely thrived outside.
Here is a picture of our in-ground garden. So far, everything that we have planted is thriving and growing strong. We had a little incident a couple weeks ago with the cows getting into the garden. They stomped on a couple plants, but most have come back to life and are continuing to grow just fine. (Note to self: Always make sure ALL gates and fences are securely fastened and closed!) ;) This past weekend we also decided to expand the garden to make room for three rows of sweet corn. I absolutely cannot wait to harvest all of our homegrown veggies! Oh, and we also planted seven different types of peach and apple trees! I guess you could say we are really getting into this whole farming thing ;)
This morning as I was walking through the zucchini and watermelon patch, I noticed that the baby zucchinis are starting to develop. How cool is that! I know of an awesome zucchini recipe that was passed down from my grandma, to my mom, and down to me that I will have to share with you all later!
We have also managed to finish the chicken coop! We will need to build them laying boxes in the next couple months, but so far they are loving their new home. We made the chicken coop as safe from predators as we could, so I'm crossing my fingers that we don't loose any! *Knock on wood* Oh, and did I mention that we have a rooster?! Yep, that multi-colored one with the big red comb you see to the left. We thought "she" was a hen.... until "she" started crowing early in the mornings. Which is fine by me, because now we'll have fertilized eggs and possibly lots of baby chicks! :) Not pictured here: We also have 8 one month old chicks right now in the garage brooder. So far, that's a total of 17 chickens and counting!
I don't know about you, but I'd say the chickens have the best view on the farm! Does it get any more pasture raised than that? Their chicken run is attached to the coop, with full access in and out of the coop while we're not home. Since we have lots of hawks and other chicken predators where we live, we used reclaimed barn tin & chicken wire for the roofing - that way the chickens can enjoy the outside without having to worry about being attacked. And when we're working in the garden, we open the chicken run to the garden so that they can explore and eat all the nasty bugs :)

Tuesday, April 12, 2016

Chicken Coop Sneak Peek

Our chickadees are growing fast, so this past weekend was time to get started on the chicken coop. To save time and money, we decided to use an existing shed that my grandpa had originally built on the farm. For years, the shed had collected all sorts of old farm equipment, spiderwebs, and tons of wasp nests. But despite all of the work it needs, its got a strong foundation & potential - and that's what's most important. Our first step was to attempt to get rid of the live wasp nests. Levi waited until the sun went down to surprise them in a sneak spray attack while they were all nestled in their homes for the night. What a fiasco that was! But hey, it sort of got the job done! Once we finally got rid of the nests, we were able to clear out the shed, rake the floor free of debris, and start building the sides using untreated pine panels. 
And up goes the wall! The guys also installed a screen door for easy access inside the coop, and this coming weekend we plan on building the laying boxes, as well as proper windows for better ventilation. I know it doesn't look like much right now, but with a little TLC, a few more cans of wasp spray, and a couple buckets of some brightly colored paint, this chicken coop is going to be beautiful. Stay tuned, as we will need to have this finished for our growing girls within the next week!


Any ideas of what color I should paint the coop? I'm thinking something tropical & Caribbean....


(That or I'm having a serious case of need-to-go-on-a-beach-vacation coming on!)

Chicks In Teacups: Instagram Edition

I'm sorry I haven't updated y'all in a couple weeks - It's been busy busy busy lately on the farm with a combination of projects. But I wanted to share with you all a fun little movement that I was invited to join on Instagram called #ChicksInTeaCups. Many farms across the country have joined in to take the cutest pictures of their famous little chicks sitting in teacups. Miss Olivia, one of our Barred Plymouth Rocks (pictured above) was a tad too big to actually sit inside the teacup, but I just couldn't resist the urge for this adorable photo-op! Plus it gave me an excuse to catch up on some antique shopping! Sweet baby chicks, vintage teacups, and photography.... Need I say more? ;) For more adorableness, make sure to check out #ChicksInTeaCups on Instagram and if you know any chicks interested to join along, make sure to use the hashtag #ChicksInTeaCups!


Also, be sure to follow @theozarkpoppy on Instagram for more daily adventures on the farm!

Wednesday, March 30, 2016

Chicken Update: Week Two

Today marks exactly two weeks since we picked up our baby chicks and brought them out to the farm. It's been quite the learning experience and so much fun being able to watch them grow! Their feathers are starting to develop into beautiful color variations and they are becoming more curious about their surroundings. Since these first few weeks are crucial for them to socialize with us humans, we've been talking to them more (yes, I talk to my chickies) and have been letting them roam around the front yard for a couple minutes. They still don't seem interested at all in eating worms for treats - I figured they would go crazy over them, so today I'm going to try and give them some mashed up hard boiled eggs (I find it totally weird and a little cannibal-ish, but I read in a chicken forum that they apparently LOVE hard boiled eggs). We'll see how it goes :)


What are some treats you'd recommend for growing chicks?

Sunday, March 27, 2016

Cold Weather Calls For A Temporary Greenhouse!

We transplanted our lettuce into a raised bed a couple days ago and with the unexpected cold weather coming to our area tonight, we needed to build a temporary greenhouse. We used five pieces of PVC pipe for the arches over the garden bed, while our chocolate lab 'Coach' supervised our work.
After applying a wood stick to the top of the PVC pipes using zip ties, it was time to drape the plastic over the pipes. The plastic dome will create a greenhouse effect and will keep our lettuce warm and the unwanted deer out!
We ended up using two plastic sheets to cover each side of the PVC pipe dome. Then, we used a staple gun to staple the ends of the plastic sheets to the cedar box.
A peak inside the greenhouse....
The finished product! Again, this is a totally temporary greenhouse, so while it may not look fancy, it will serve its purpose cheaply and efficiently for the next week or two.


Stay tuned - we have a DIY Farmhouse Table coming to the blog!

Thursday, March 17, 2016

Our New Baby Chicks!

So remember the other day when I mentioned that we had a few surprise additions coming to the farm? Well, they're here! Nine baby chicks. Healthy, alert, and too much cuteness to handle. We got them from our local hardware/farm store and since we knew chick season had officially started, it was a must for us to be at the store on the day they arrived! It was a good thing too that we got there in time to pick out the different breeds we wanted, because by the end of the day most of the chicks were sold out. We got two Black Australorps, one Buff Orphington, three Plymouth Rock, and three Ameraucanas.
 They spent their first night in the brooder eating, sleeping, pooping and pecking at everything that stood in their way.
Since it was so beautiful and sunny outside, we took two of them out for a couple minutes to experience their first adventure in the yard :)
Here is the brooder we made using materials that were laying around the farm. We used a livestock water tank for the tub and some wire mesh for the lid. The wire mesh will provide adequate ventilation and serve as protection from our cats.
We also hooked up a red heat lamp since our baby chicks will need lots of warmth in their first few weeks of life. We are SO excited for our new chicken adventure and can't wait for some farm fresh eggs! :)


What are some of the unique brooder ideas that you've come up with? I'd love to hear your ideas!

Tuesday, March 15, 2016

Our Seedlings Are Growin' Up!

It's been a couple weeks since I've updated y'all on our growing seeds! I can't even begin to tell you how much of an AMAZING experience it has been watching these little green babies grow! In just 5 1/2 weeks, this is what our seedlings look like as of today. We've had tons of luck with these heirloom organic seeds (the quality of the seeds are extremely important to the success of your plants' growth) and have learned that using liquid fish fertilizer in the process has really helped these babies grow. Sometime this week we will have to transplant these little guys to the outside garden... Our dining room is starting to get a little crowded! ;)
Look at that lettuce!!! I mean seriously, it looks like it could be its own little salad :p
Here we have spinach to the left and okra to the right. *Mmmmm fried okra....* A country classic!

.... Broccoli & cauliflower....

And last but not least, cabbage! We planted tomato seeds in the pods to the left but didn't have much luck with those. We plan to give the tomato seeds another round next week indoors. Stay tuned in the next couple of days.... We have a couple surprise additions coming to the farm! ;)
Blogging tips