photo LFD-header_zpsrtqgwepm.png
 photo home_zpsiyorvpud.png  photo thefarm_zpslijkqdnu.png  photo gardening_zpsd2mpsctr.png  photo DIY_zpsxujfurgu.png  photo recipes_zps6vv3oxcy.png
Showing posts with label diy. Show all posts

Sunday, March 27, 2016

Cold Weather Calls For A Temporary Greenhouse!

We transplanted our lettuce into a raised bed a couple days ago and with the unexpected cold weather coming to our area tonight, we needed to build a temporary greenhouse. We used five pieces of PVC pipe for the arches over the garden bed, while our chocolate lab 'Coach' supervised our work.
After applying a wood stick to the top of the PVC pipes using zip ties, it was time to drape the plastic over the pipes. The plastic dome will create a greenhouse effect and will keep our lettuce warm and the unwanted deer out!
We ended up using two plastic sheets to cover each side of the PVC pipe dome. Then, we used a staple gun to staple the ends of the plastic sheets to the cedar box.
A peak inside the greenhouse....
The finished product! Again, this is a totally temporary greenhouse, so while it may not look fancy, it will serve its purpose cheaply and efficiently for the next week or two.


Stay tuned - we have a DIY Farmhouse Table coming to the blog!

Wednesday, February 24, 2016

DIY Rustic Wood Round

My absolute favorite part of our house is our enclosed porch. It's an area where we can relax and eat meals while enjoying the beautiful country views. It's a fairly small room and the surrounding walls are white, so I wanted to create something that would bring a little color and rustic feel into the room. This DIY project was extremely simple to make and doesn't leave a big mess everywhere! 

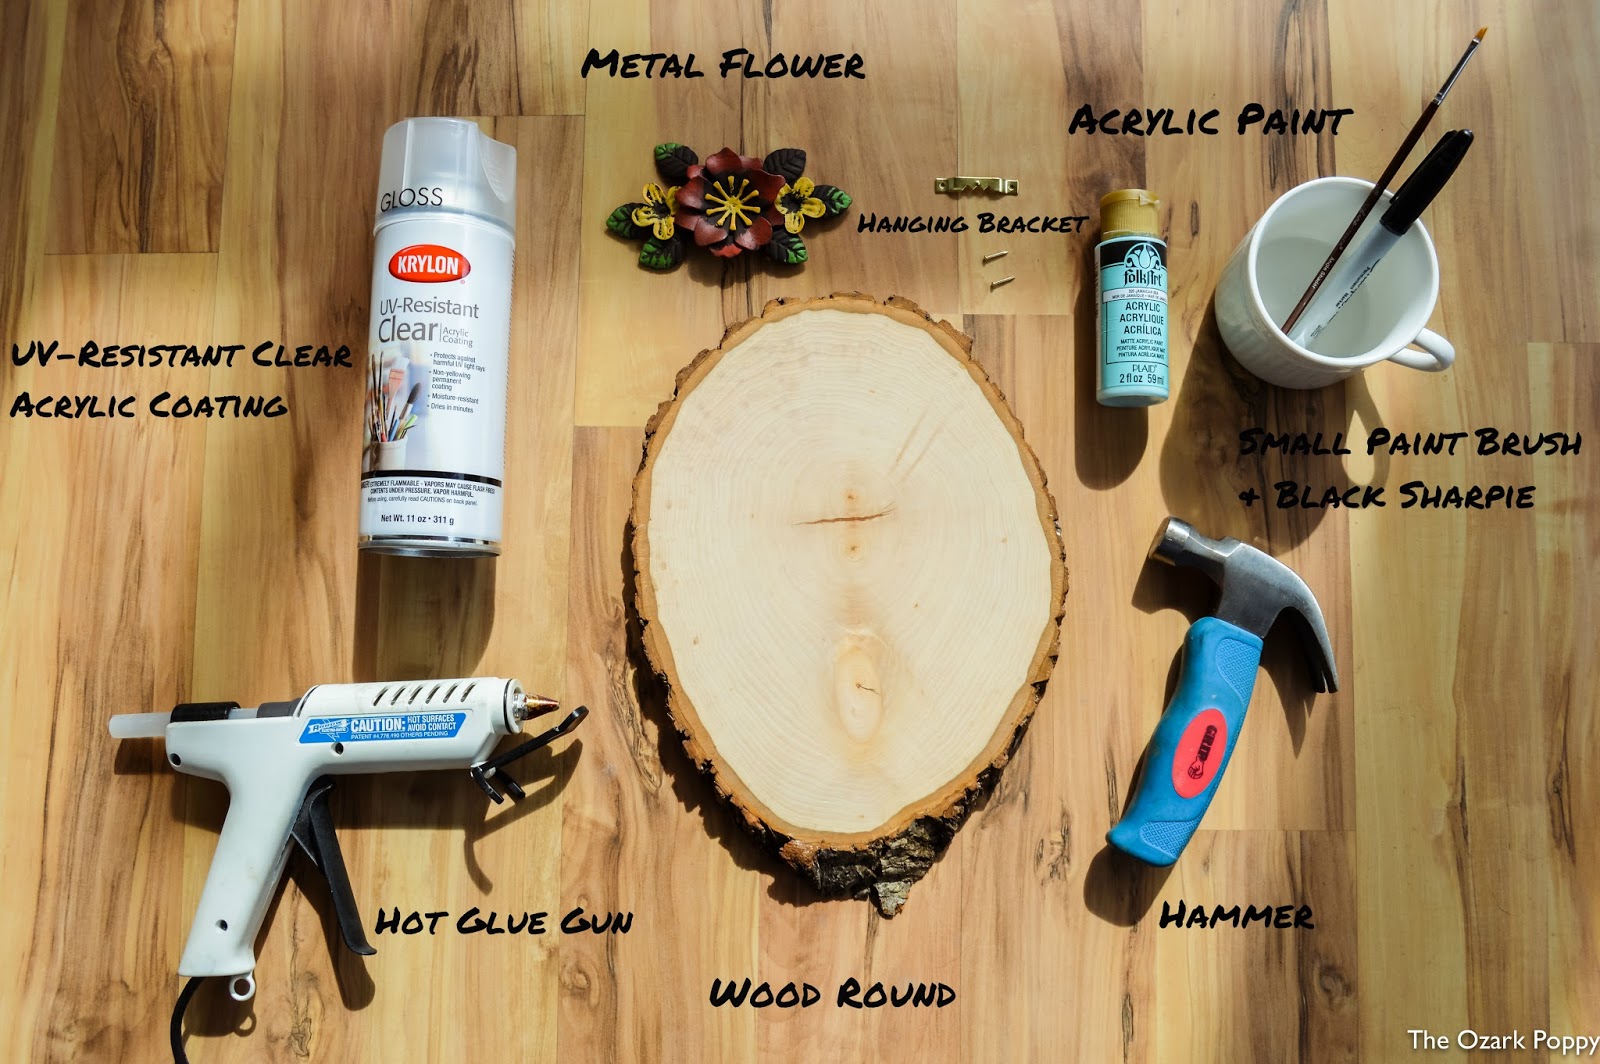
Here are all of the tools I used to create this rustic wood round. In Arkansas, we have a craft supply store called "Hobby Lobby" that sells various sizes of wood rounds, which is where I got mine from. I'm sure most craft supply stores carry them though. The metal flower decoration was also purchased from Hobby Lobby, but you can use whatever decoration fancies your style :) I also purchased some UV-Resistant Clear Acrylic Coating spray and blue pastel colored acrylic paint. You will also need to make sure you have a small hanging bracket and small nails to go with it (you can usually find this in any picture hanging kit), a hammer, thin angle paintbrush, a black sharpie, and a hot glue gun.

First, using my blue pastel acrylic paint and thin angle brush, I painted "farm life" in cursive. But of course you can paint your own saying or one of your favorite quotes... The ideas are endless! The thin angle brush was extremely easy to use for those really thin and detailed lines. I LOVE pastel colors and everything pastel, but of course you can use whatever colors appeal to you. I let the paint dry for about an hour or so, and then outlined my letters with the black sharpie. This helps with really making your colors and text pop! Next, I sprayed a thin layer of the UV-Resistant Clear Acrylic Coating spray over my painted text. It has a pretty strong smell, so make sure to use this spray in an open area with lots of ventilation! The spray will help with keeping your colors vibrate if your decor is located somewhere that sees a lot of sunlight. 

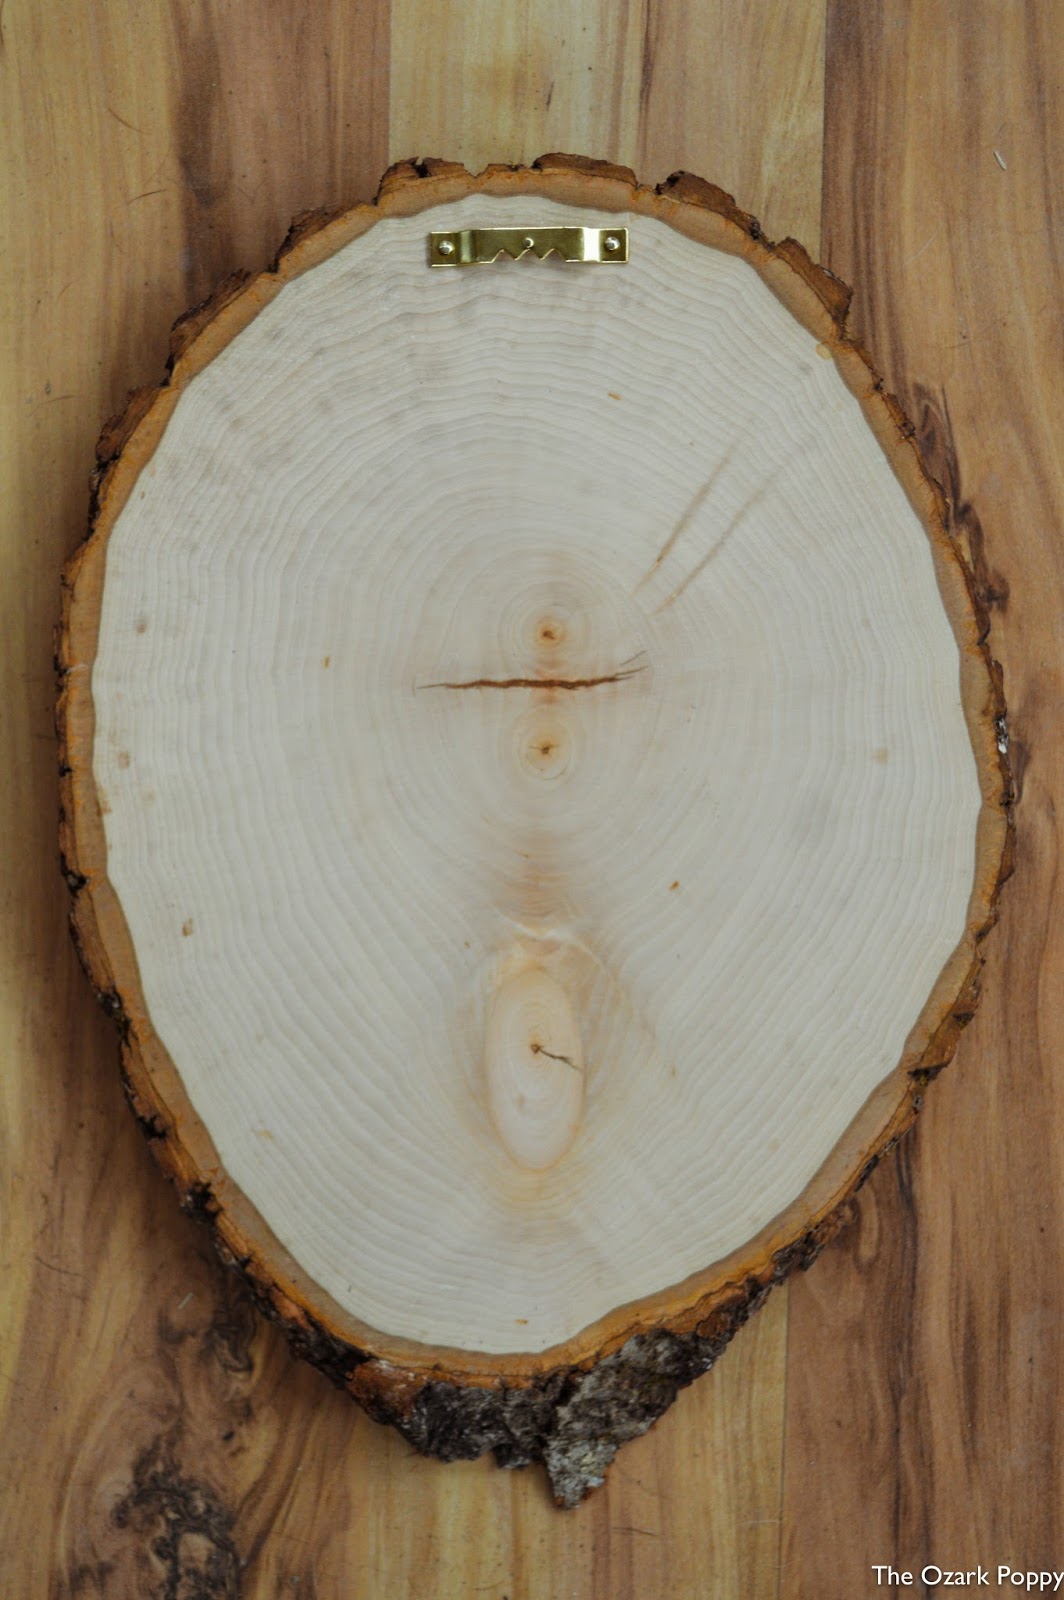
My next step was applying the hanging bracket on the backside using a little hammer. Make sure to do this step BEFORE applying your metal decoration (flower), or else the bracket won't nail in correctly. Lastly, turn over your wood round and apply your metal decoration using a hot glue gun. And wa-la! You have yourself a cute new rustic home decor! Easy peasy, wasn't it? :)

Friday, February 19, 2016

Repurposing Your Antique Ladder

When you live on a farm, you're bound to come across all sorts of old stuff laying around. Some may see it as junk, but we see it as potential furniture to give our home that country rustic feel. We have a couple old ladders that have been collecting dust in the shop building, so we figured we might as well put one of them to good use. There's so many neat ideas out there to incorporate old ladders in your home decor, but we decided to keep it simple and use this one as a small bookshelf. It's the perfect size to hold just enough books for light afternoon reading. It also makes the perfect piece for the awkward space between our couch and front door. I absolutely love our new bookshelf and it just goes to show that what you might see as old junk, can also be transformed into a new household treasure.

What are some of the old items you've repurposed? I'd love to hear your ideas!
Blogging tips